Hello again, Gunpla Builders! I am back with another small tutorial for the builders. This time, I will discuss about the great art of painting Gunpla. Painting is a useful skill that allows you to customize and enhance your model kits with dazzling colours and precise details.
To start off, we need to go over the three different kinds of paint as well as the different kinds of methodology for getting colours on your gunpla.
 |
From: The Model Basement
A small selection of Tamiya's acrylic paints. |
First of all, there is
Acrylic paint. These paints are water based, meaning they dry quickly and can be thinned by water from your faucet. Other than coming in a unique range of colours, they specialize in staying on plastic once dry, but have regular strength when adhering to a Model Kit.
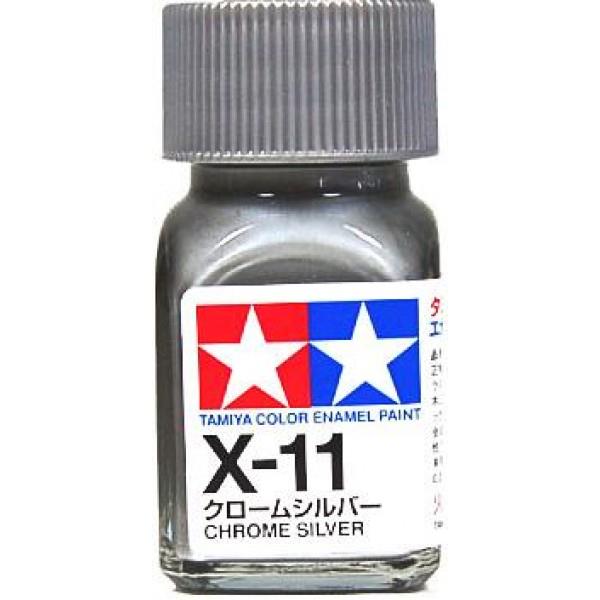 |
| Example of an Enamel paint bottle. |
The second type of paint is
Enamel, or
oil-based paint. It dries to a sturdy and glossy finish, and is more sturdy to varying temperatures than other kinds of paint. It requires mostly different kinds of oil to thin, and is slightly toxic.
 |
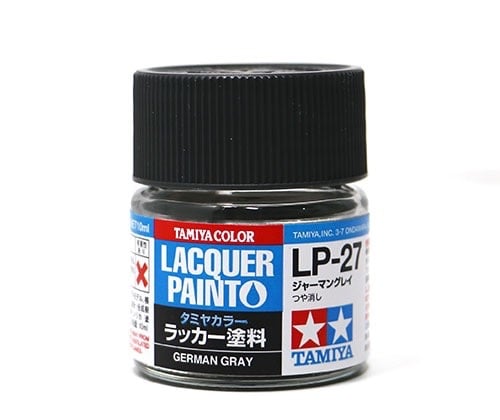
| A bottle of Tamiya Lacquer paint. |
The third type of paint is suitably called a more advanced word, with how complicated and dangerous usage can be.
Lacquer paints are some of the most toxic liquids used to paint, but they finish beautifully. They can also be 'hot' and melt polystyrene or plastic if mishandled. It can only be applied using an airbrush.
Lacquers should only be used as undercoats, as they are 'hot' and will destroy underlying Acrylic or Enamel coats if they are applied improperly. The main skill is in knowing what techniques there are, and having a steady hand to apply paint.
With that, the three topics of Gunpla paint are explained. Next time, I will discuss the techniques around these paints and also explain the basics of building as well. Farewell for now, Builders!


-boxart.jpg/revision/latest?cb=20171129024855)